This is an old revision of the document!
Table of Contents
瀏覽器操作方式
不管你是在家裡還是外出中,您都可以直接透過瀏覽器進行快速的文件上傳或下載動作。無需安裝軟體或需要進一步的網路設定,您需要僅僅是一個可以上網的環境,開啟您的瀏覽器來進行與私有雲的檔案管理動作。
瀏覽器中管理檔案的工具「檔案總管」,各項功能的詳細說明,請參考: 應用程式> 檔案總管。
如果您要上傳或是下載的檔案 單一檔案大於 1.86GB 時,請您改用其它的傳輸方式(如 Samba、FTP、AFP、NFS …等)。
登入
通過 http://www.myakitio.com 入口網站連線登入,是最方便的方式。步驟如下:
- 打開您的瀏覽器。 (如:IE, Firefox, Safari, Chrome)
- 輸入 http://www.myakitio.com 網址,進入 AKiTiO 的 NAS 入口網站。
- 確認裝置的 MAC address ,您可以在產品的包裝盒上,或是產品本體的底部上查看到。
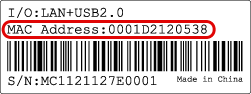
- 在 (1) 中輸入 MAC address 或是您已註冊的名稱,按下放大鏡 (2) 找尋您的私有雲裝置。
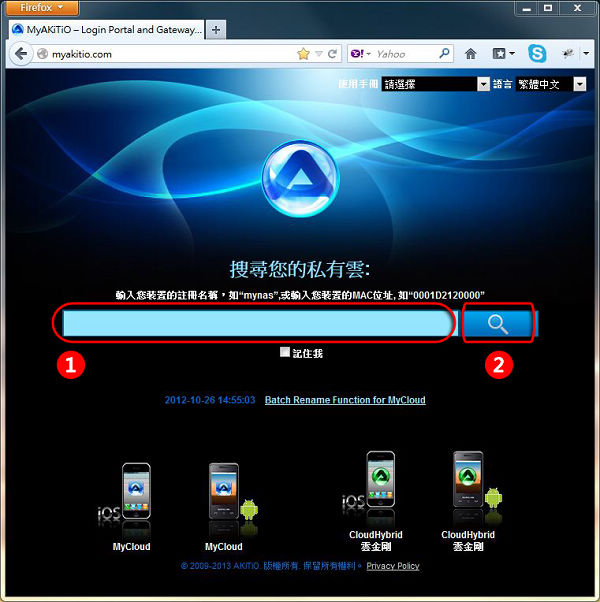
- 進入登入畫面後,請輸入您的帳號與密碼,按下「Enter」鍵,或是右下方的房子小圖示。
如果您無法透過入口網站連線設備,可能是您的 Router 有開啟防火牆,或是其它問題,請參考 登入 項目內的其它方法連線。
上傳檔案
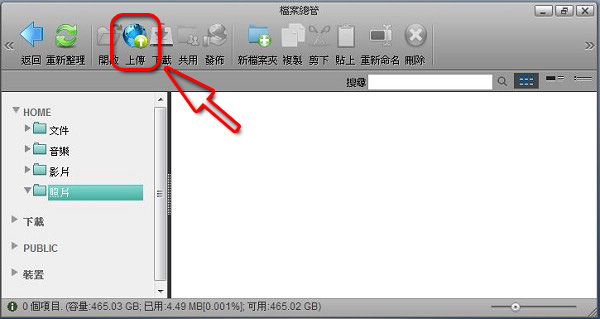
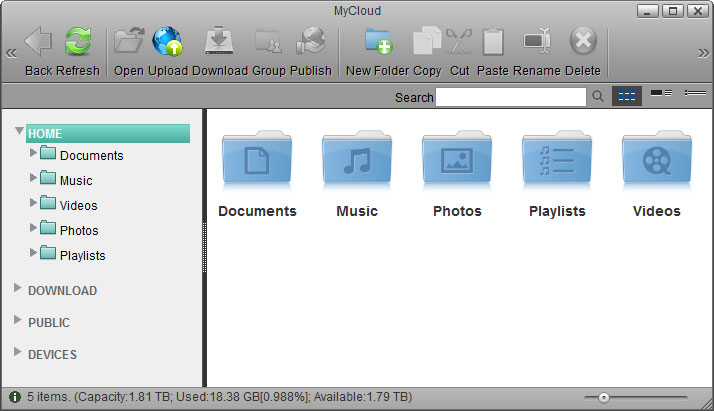
- 開啟桌面上的「檔案總管」。
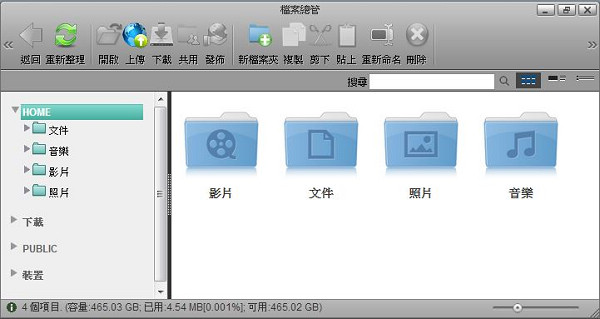
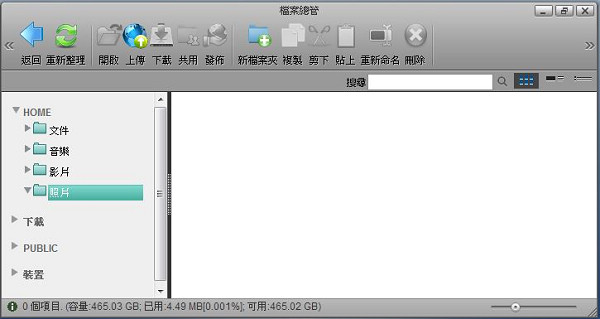
- 選擇您要上傳的資料夾。
- 點選「上傳」。
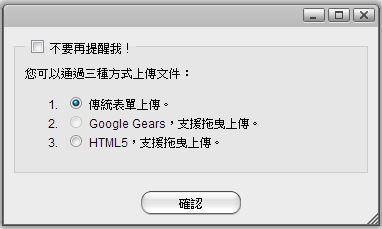
- 如果您是第一次上傳檔案,在點選「上傳」後會出現3種上傳方式的選項,選擇您要上傳的方式後按下「確認」鍵。
- 「1. 傳統表單上傳。」: 此中上傳方式一次僅能上傳一個檔案,不適合使用在上傳的檔案較多時。
- 「2. Google Gear,支援拖曳上傳。」: 給已經安裝過 Google Gear 的瀏覽器使用。
- 「3. HTML5,支援拖曳上傳。(推薦)」: 目前新版的的瀏覽器都已支援 HTML 5 上傳功能,您可以一次上傳多個檔案,或是直接拖曳資料夾上傳(資料夾上傳不適用於所有瀏覽器)。
- 如果您先前已選擇上傳方式,並啟用“不要再提醒我!”,點選上傳就不會在出現選擇視窗。如果您想更改上傳方法,請點擊上傳視窗右下角的選項回到選擇上傳方式窗口。
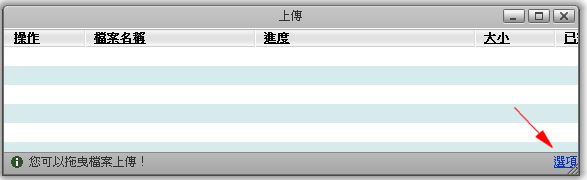
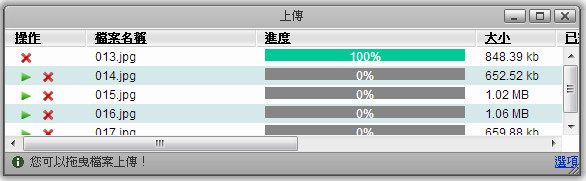
- 在這個範例中,使用的是 HTML5 的上傳方式。您只需拖放文件到上傳視窗中即可。
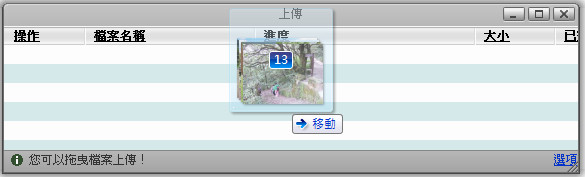
- 您可以監視上傳過程,並在必要時也可以取消上傳任務。
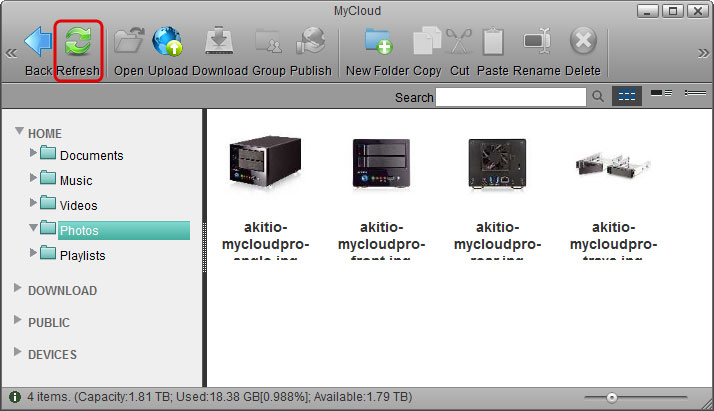
- 當上傳完成後如文件未顯示,請點擊重新整理,您就可以查看到文件已上傳到私有雲中。
For Internet Explorer, the HTML5 upload method requires IE 10 or above.
When using the HTML5 upload method, you can drag and drop multiple files at once but only with Chrome can you also drag and drop whole folders including sub-folders.
When using the web interface, the upload size for single files is limited to 1.86GB. To upload large files and/or a large amount of files (e.g. weekly file backup), please mount the network drive using Samba or use any of the other available network protocols (e.g. AFP, NFS, FTP). For more information, please see File Management > Overview and Comparison.
File Download
Single Files
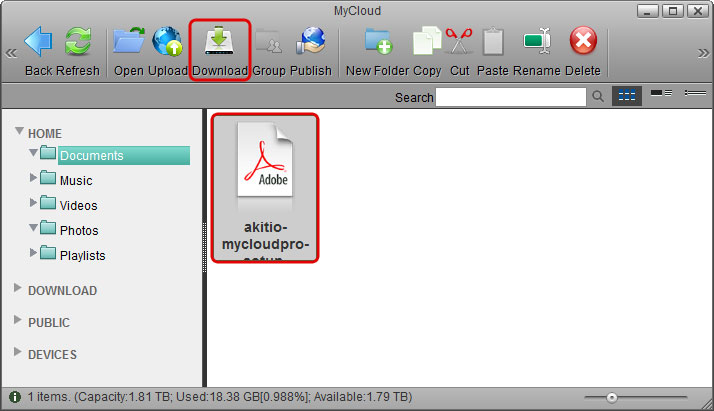
- Open the MyCloud file explorer.
- Open the folder where the media files are stored.
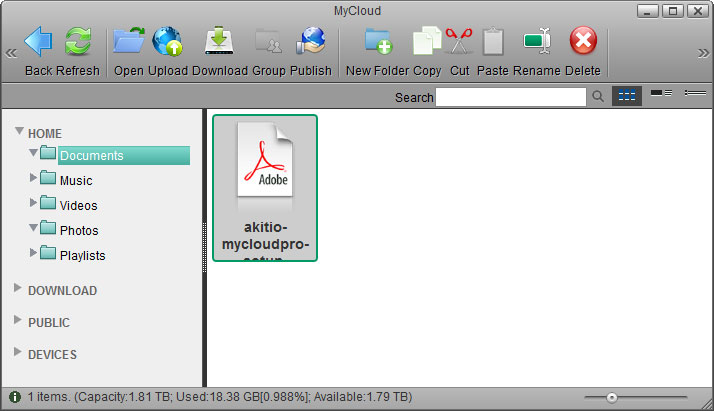
- Select a file and click Download.
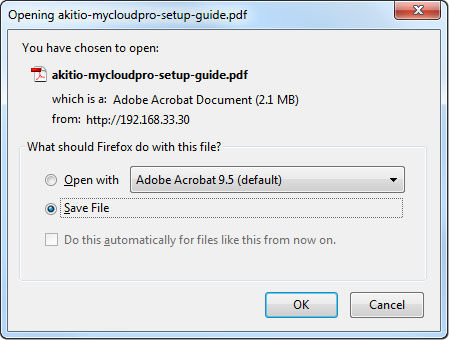
- Save the file on your computer.
Multiple Files
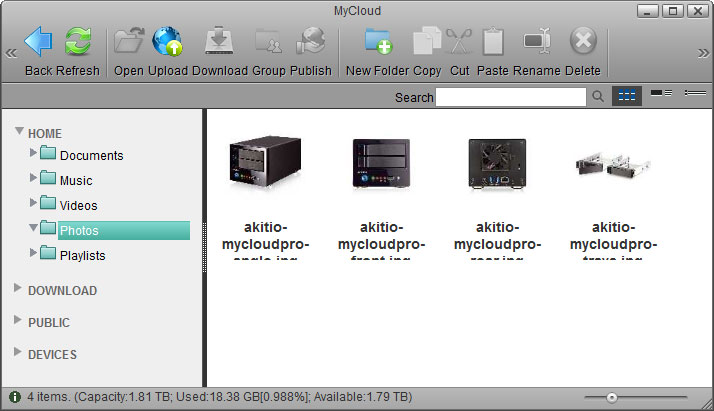
- Open the MyCloud file explorer.
- Open the folder where the media files are stored.
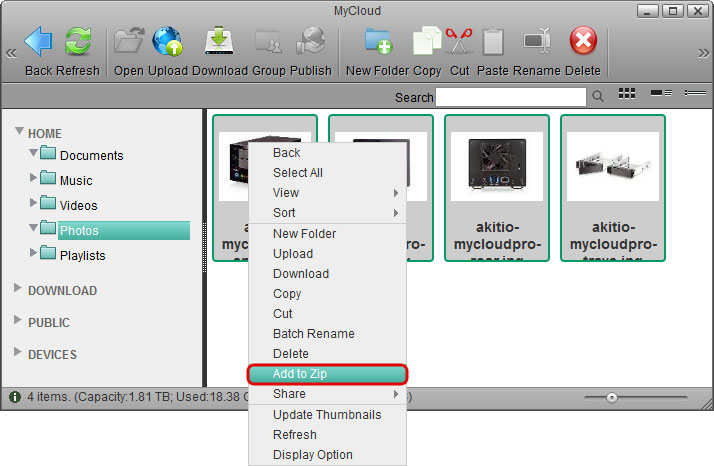
- Control (Ctrl) or shift (Shift) click the files you would like to download.
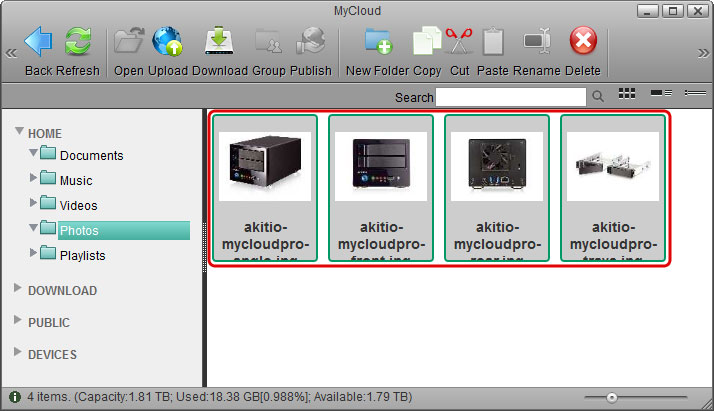
- Right-click to open the context menu and select Add to Zip.
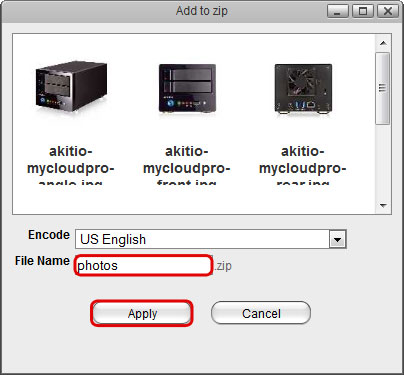
- Enter a file name for the ZIP archive and click Apply.
- The completed ZIP archive is stored in the HOME directory and as soon as it's ready, a download link appears. Click Download to save the file on your computer.
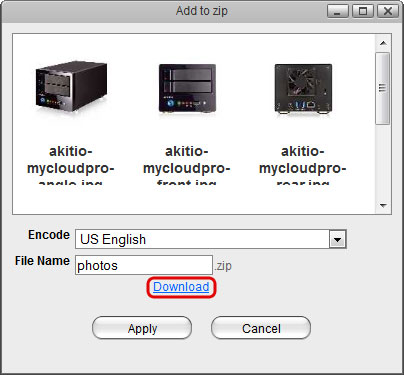
If you don't want to immediately download the ZIP archive, you can always locate it in the HOME directory and download it from there later.
Batch Rename
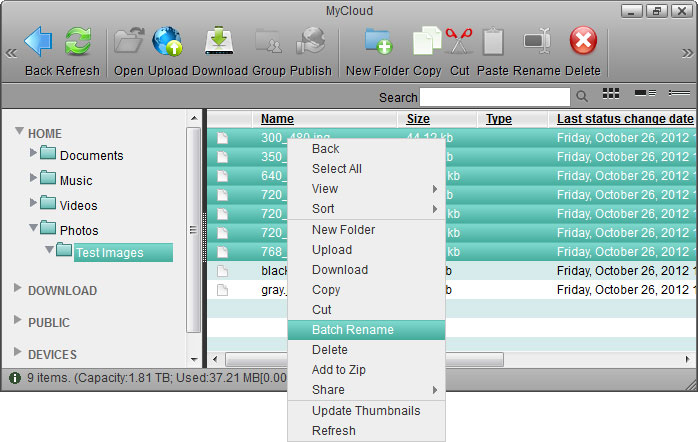
To rename multiple files in a batch once they are uploaded to the network drive, use the Batch Rename command.
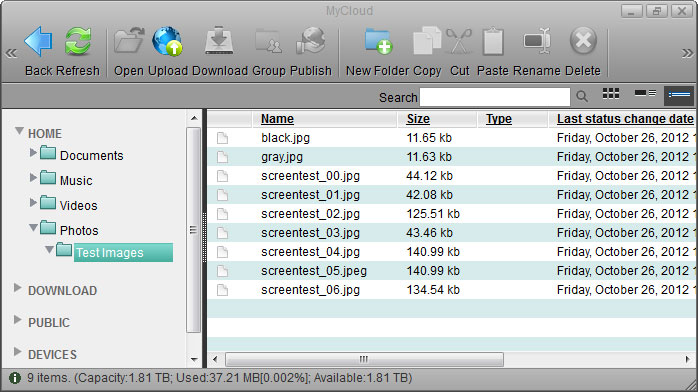
- Select the files you would like to rename.

- Right-click to open the context menu and select Batch Rename.
- Enter a name followed by a dash or underscore (the dash or underscore is not a requirement, only a suggestion).
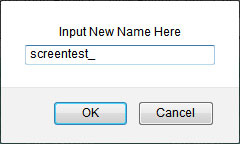
- Click OK to rename the files.
- The selected files will be renamed automatically with the new name plus a number attached at the end (e.g. images_01, images_02, etc.).
Remember that if you have previously added these files to an album, renaming them will remove the files from the album, so you will have to add them again after the renaming process is completed.
