Table of Contents
File Sharing
There are different ways of sharing the files that are stored on the network drive. Each method has its own requirements and limitations, so you might have to try all of them to find the most suitable method for yourself.
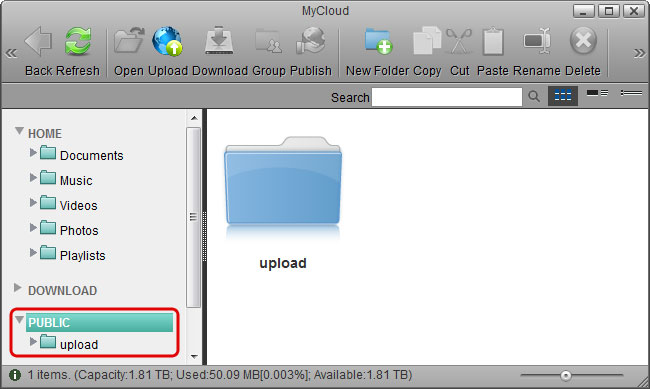
Public Directory
Files that are stored in the PUBLIC directory are accessible (read & write) to all users on the network drive. Simply copy a file to the PUBLIC folder and the next time another user logs in, they can view it too. It doesn't matter if the user logs in via web interface or mounts the network drive on the home network, the PUBLIC directory is always accessible.
Sharing a Folder
You can select a folder or a file in the file explorer that you would like to share and use the context menu to choose how it should be shared. You can share it with other users on the network drive or create a public link that even visitors can access.
Share by email
This function allows you to share a folder or a file with visitors that do not have a user account on your network drive and send an invitation via e-mail. You can decide how long this public link is accessible.
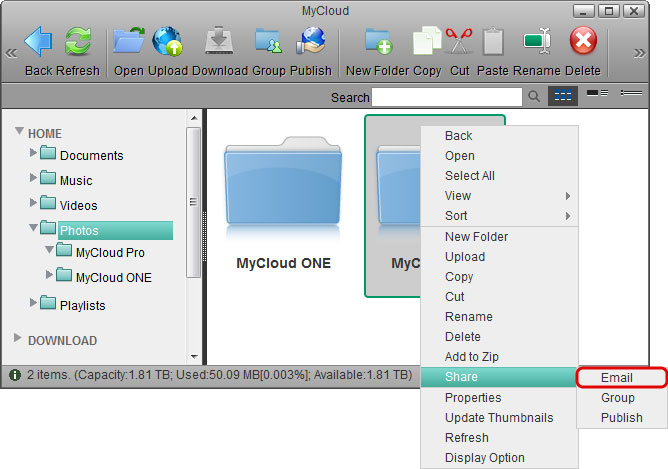
- Right-click on the folder or file that you would like share to open the context menu.
- Select Share and click Email.
- Fill out the required fields (e.g. receiver and subject) and send the mail. For more details about the email function, please see Applications > Email.

- By default, the shared link can be accessed for 1 month and the access rights are set to read only.
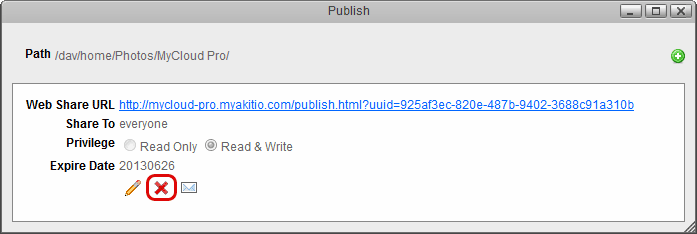
- To change the expiration date and the access rights or to delete the shared link and stop sharing it, use the share manager. Click on the red cross under the link that you would like to remove to delete it or click on the edit icon to modify the date and access rights.
 .
.
Share with group
This function allows you to share a folder with other users on the network drive. You can decide who you would like to share the folder with and if needed also restrict the access to read only.
- Right-click on the folder that you would like share to open the context menu.
- Select Share and click Group.

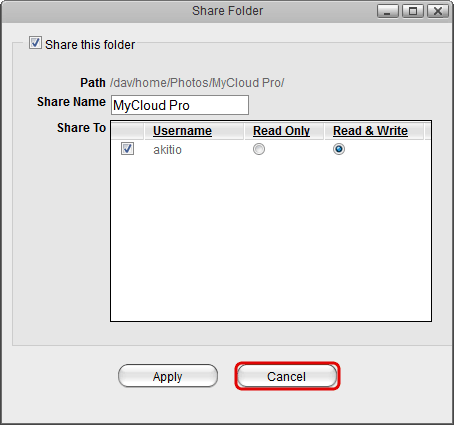
- Enable the option Share this folder, select the user(s) you would like to share the folder with and click Apply.
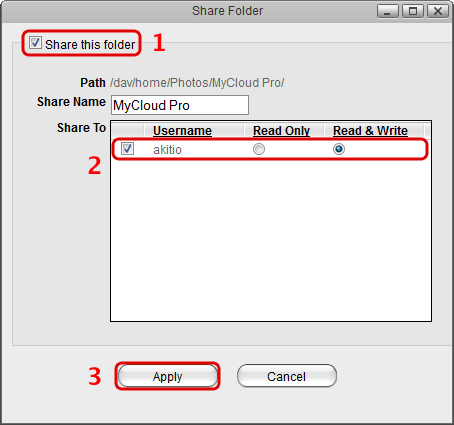
- You can now close this window.
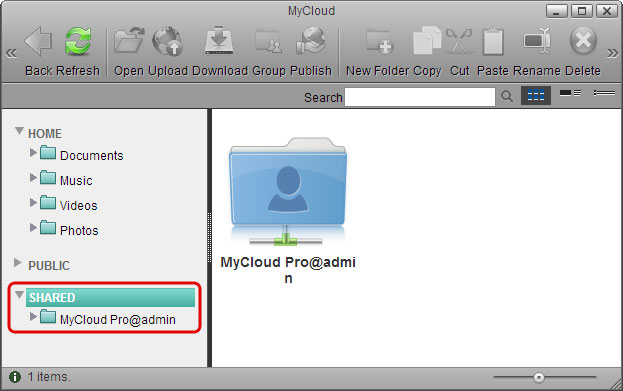
- Back in the file explorer, click Refresh. The folder is now marked with an icon to indicate that this folder is currently shared.

- The users you have shared the folder with can now access it in the SHARED directory.
Publish a folder or file
This function allows you to share a folder or a file with visitors that do not have a user account on your network drive. You can decide how long this public link is accessible and if needed also restrict the access to read only.
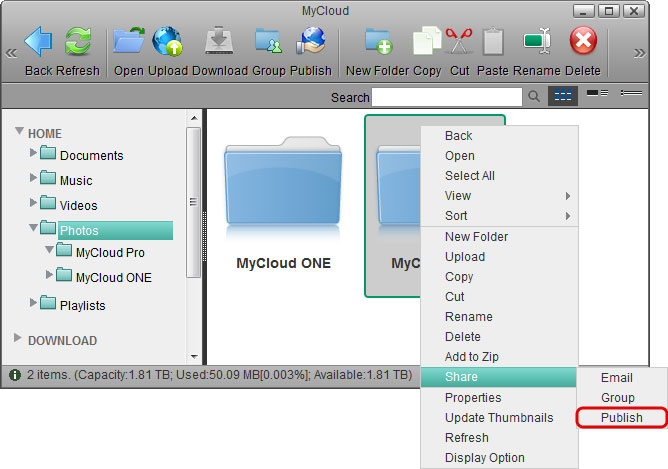
- Right-click on the folder or file that you would like share to open the context menu.
- Select Share and click Publish.
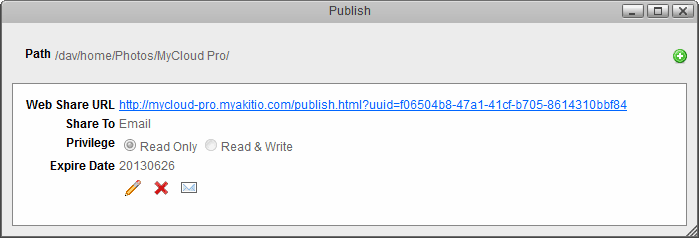
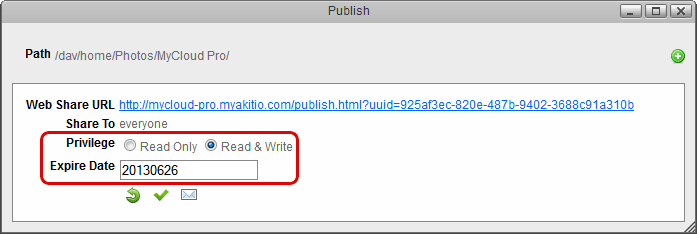
- By default, the access rights are set to Read Only and the link expires 1 month later. To change these settings, click on the Edit icon.
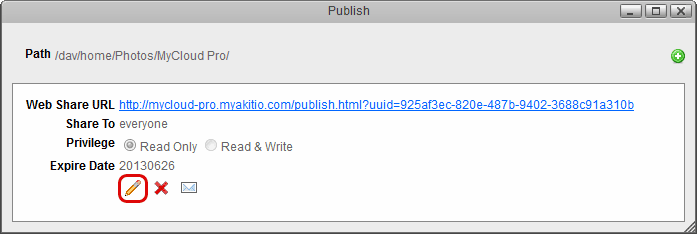
- Modify the access rights and the expiration date according to your preferences.
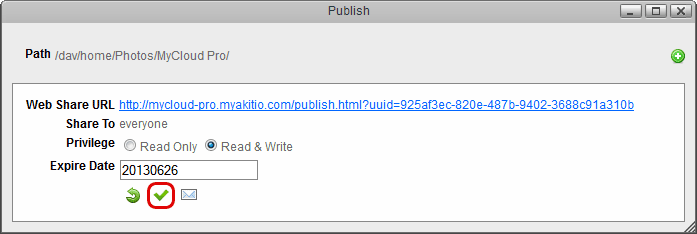
- Click on the green tick to save the changes.
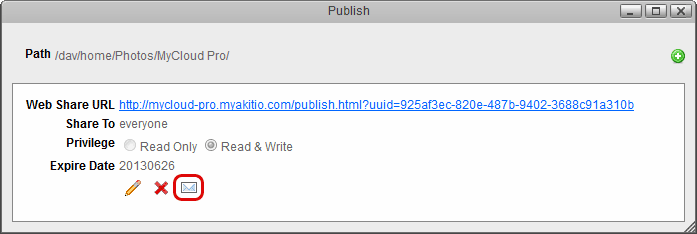
- To share this link with your friends and family members, you can either copy the link and post it on the social network (e.g. Blog, Twitter or Facebook), click on the little plus sign to select someone from your contacts or click on the Email icon and send the link via e-mail. For more details about the email function, please see Applications > Email.
- You can now close this window.
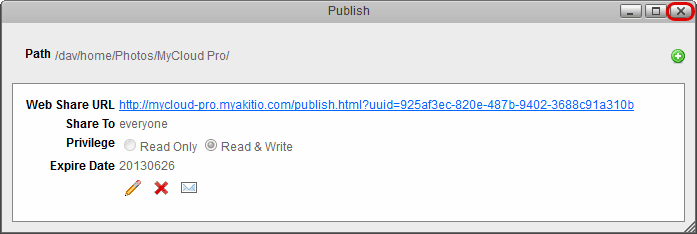
- Back in the file explorer, click Refresh. The folder or file is now marked with an icon to indicate that this item is currently published.

Sharing an Album
The album helps you to create your own albums using the pictures and media stored on the network drive. You can then share the albums with other users or publish them on the internet for friends that do not have a user account on your network drive.
Publish an album
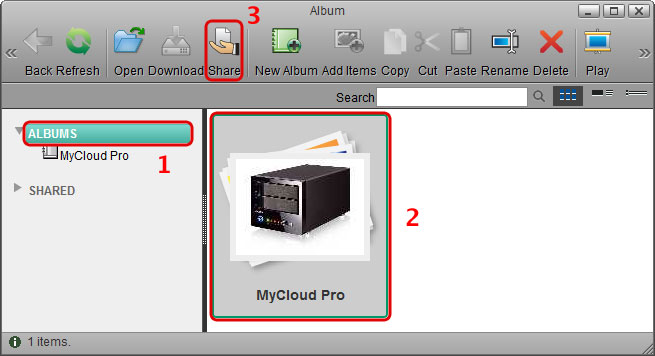
- Select ALBUMS in the album list (do not select one of the albums but the top folder in the list), select the folder that you would like to share in the content window and then click Share.
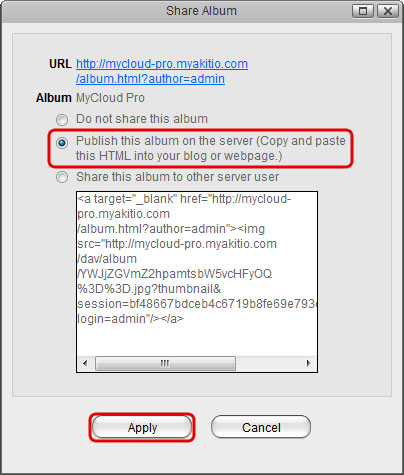
- Select Publish this album on the server and click Apply.
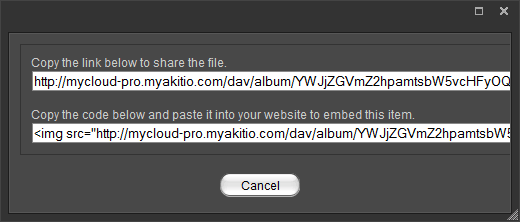
- Depending on how you would like to publish this album, you can:
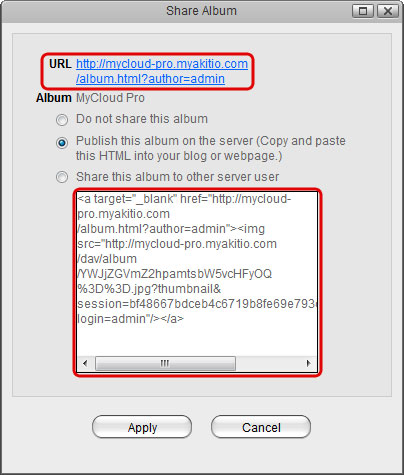
- Copy the URL and post it on Twitter, post it on Facebook or send it to your friends by e-mail.
- Copy the HTML code and post it on your blog article or webpage. This code will display the cover image of your album and link to the album on your network drive with the same URL as seen on top of this window.
- You can now close this window.

- The published folder is now marked both in the album list and in the content window.
Share and album
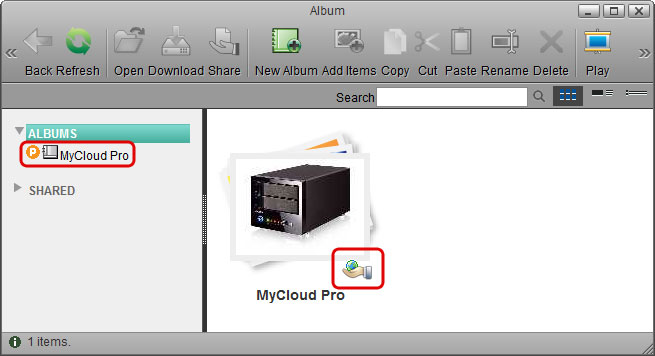
- Select ALBUMS in the album list (do not select one of the albums but the top folder in the list), select the folder that you would like to share in the content window and then click Share.
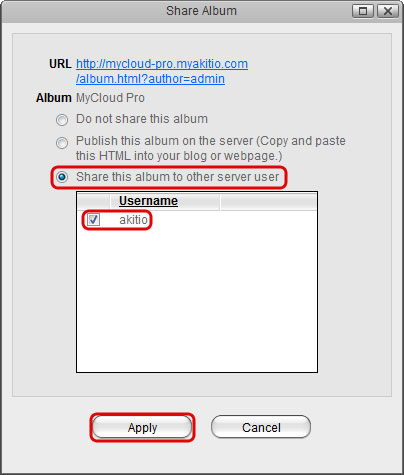
- Select Share this album to other server user, place a tick in the box for the users you would like to share the album with and click Apply.
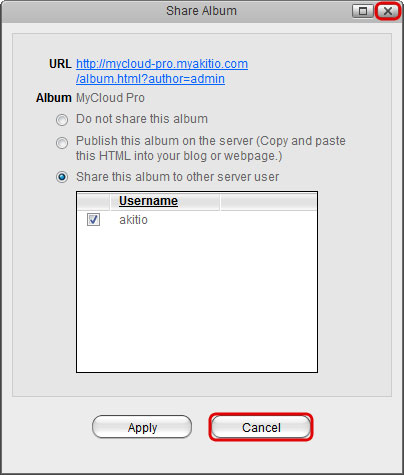
- You can now close this window.
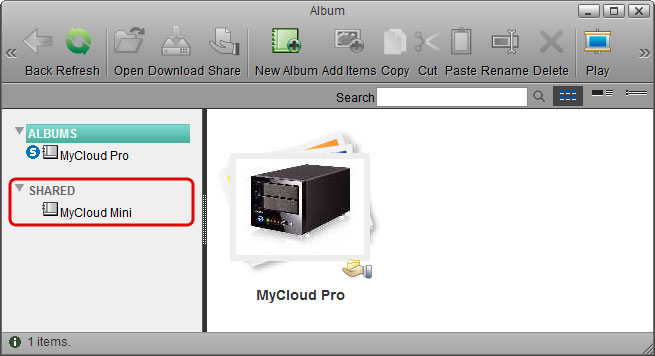
- The shared folder is now marked both in the album list and in the content window.
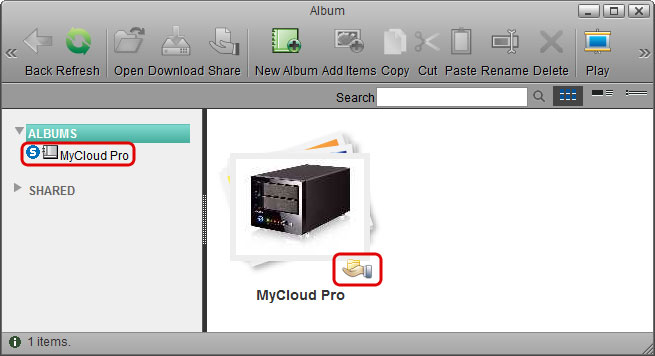
- The users that you granted access to this album can now view it in their album list under SHARED.
Publish a single file
If you would like to share a single file rather than the whole album, you can copy the hyperlink to the file and post or share the link to only the selected file.
- Publish the album with the file that you would like to publish inside it. For more details, see publish and album.
- Open the published link that was created when you published the album. This will open the album viewer.
- Select the file that you would like to share in the content window.
- Click Link in the toolbar or right-click on the item and select Link from the context menu.
- Depending on how you would like to share this file, you can:
- Copy the link and post it on Twitter, post it on Facebook or send it to your friends by e-mail.
- Copy the code and post it on your blog article or webpage.
Streaming on Home Network
When your computer or mobile device is connected to the same local network like your network drive, you can stream your media files by making use of the built-in media server and music server.
UPnP Media Server
For more details about the media server, please see File Management > Media Server.
iTunes
For more details about the music server, please see File Management > iTunes.
