Table of Contents
WebDAV on a PC
WebDAV is used for the web interface, when uploading or downloading files through the web browser. It can also be used to mount the drive remotely, unlike Samba, which can only be used on the local network. However, the transfer rate is much slower and there are other limitations (e.g. file size) as well.
Setup WebDAV Service
The WebDAV service is enabled and running by default. There are no settings to configure on the network drive.
Map Network Drive
- To map the network drive on the home network (LAN), use the local IP address (e.g. http://192.168.1.10/webdav).
- To map the network drive remotely (WAN), use the external IP address (e.g. http://121.85.21.144/webdav) or the device name (e.g. http://devicename.myakitio.com/webdav).
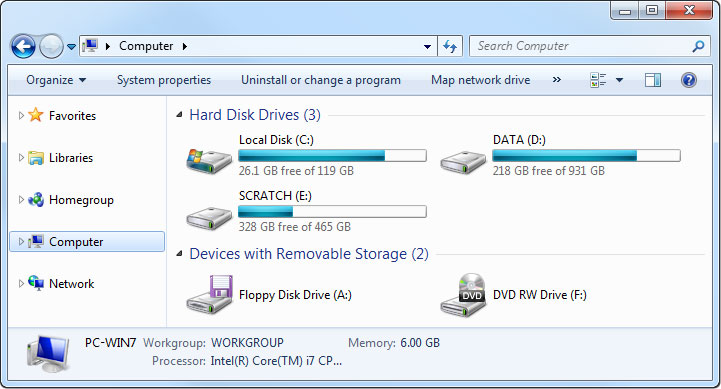
- On your computer, open the file explorer.
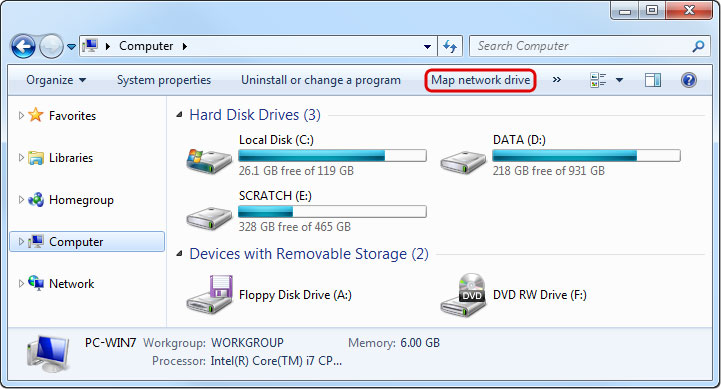
- Select Map network drive.
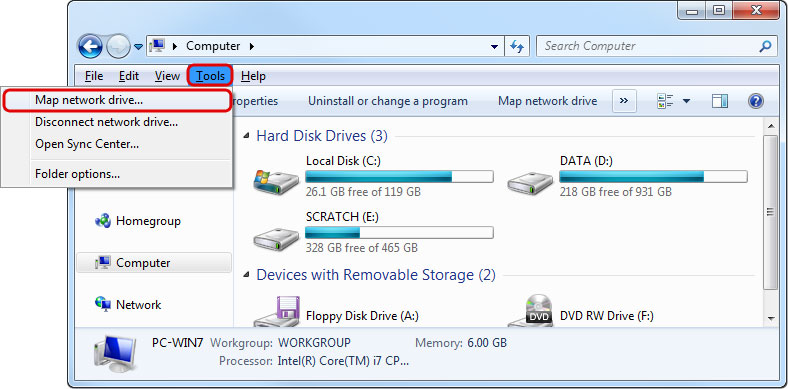
- If you don't see the shortcut, go to Tools in the menu bar and there you can select Map network drive….
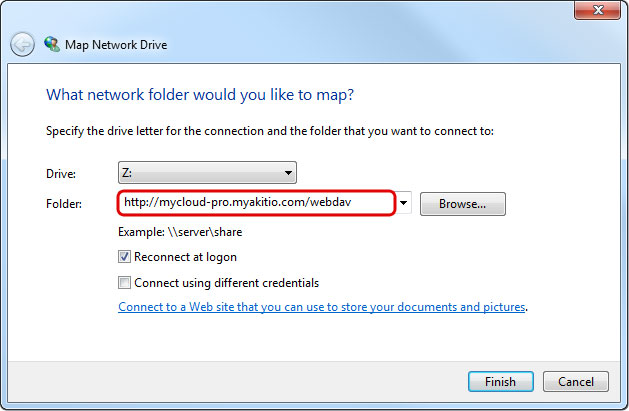
- Enter http:// followed by the device name and the web portal domain (e.g. http://mycloud-pro.myakitio.com) or the IP address (e.g. http://192.168.1.10) plus the webdav folder.
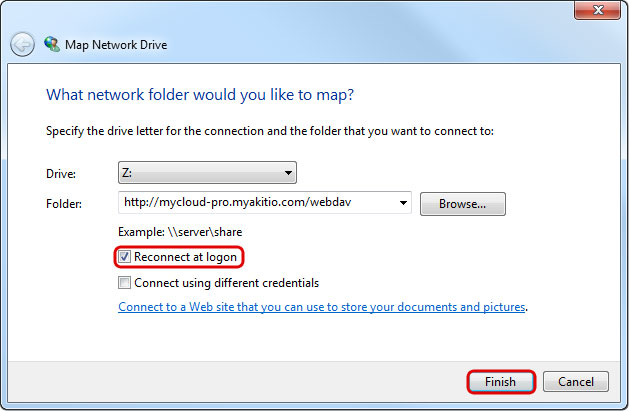
- To create a permanent link that also stays after a system reboot, select Reconnect at logon and then click Finish to complete the setup wizard.
- When prompted for the login credentials, enter the username and password of your user account on the network drive and click OK. As an example, the administrator would enter admin for both username and password.

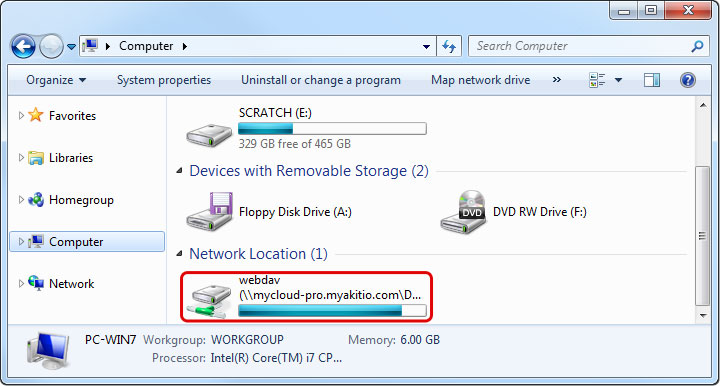
- You now have a permanent link on your computer and can access the files just like you would do with any other drive.
WebDAV Client
With a 3rd party WebDAV client, it's not only easier to manage multiple accounts but in many cases, it's also faster to transfer files compared to the standard file explorer in Windows. If you already have a WebDAV client or a FTP client that also supports WebDAV, simply use your preferred program. If you are still looking for a client, you could try Cyberduck, BitKinex or CarotDAV to name a few free programs.
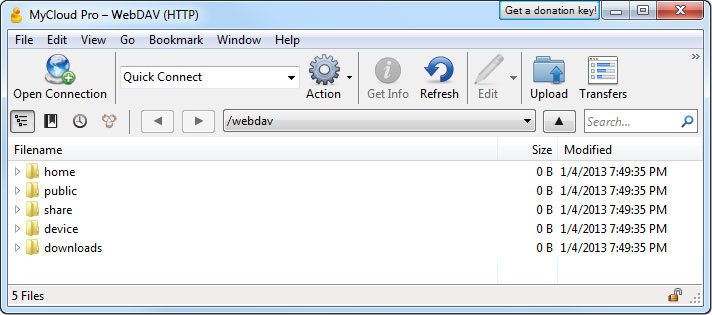
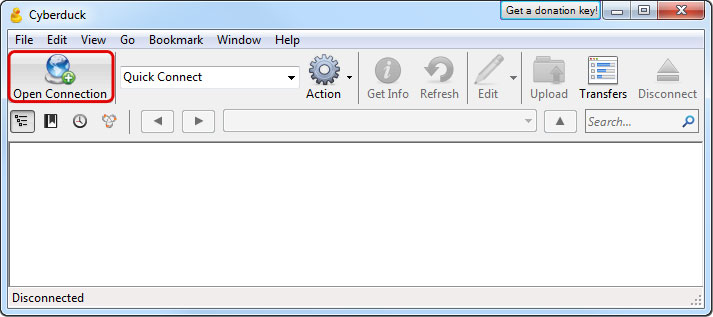
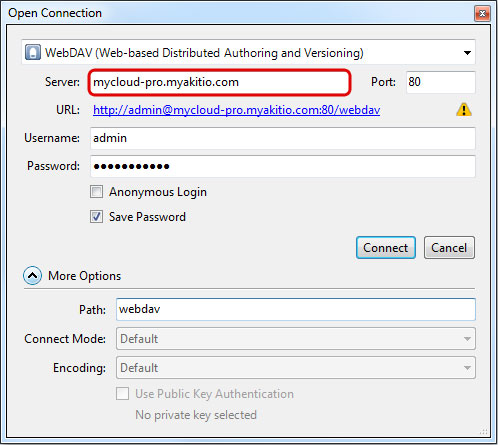
- Start up your WebDAV client. In this example, we are using Cyberduck.

- Open a new connection.
- Select WebDAV for the protocol.

- Enter the device name and the web portal domain (e.g. mycloud-pro.myakitio.com) or the IP address (e.g. 192.168.1.10) for the server.
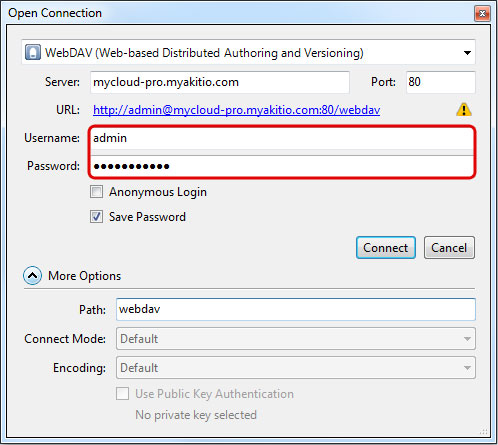
- Enter the username and password of your user account on the network drive. As an example, the administrator would enter admin for both username and password.
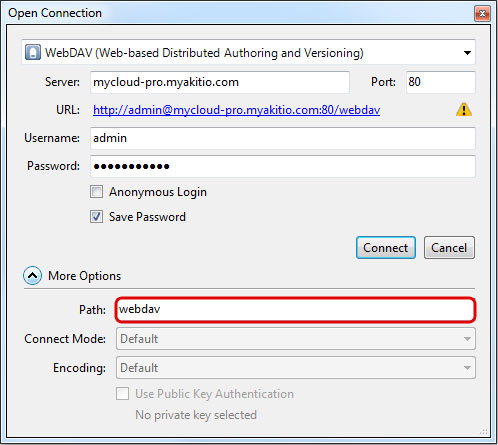
- Enter webdav for the path.
- Double check your settings and then click Connect.
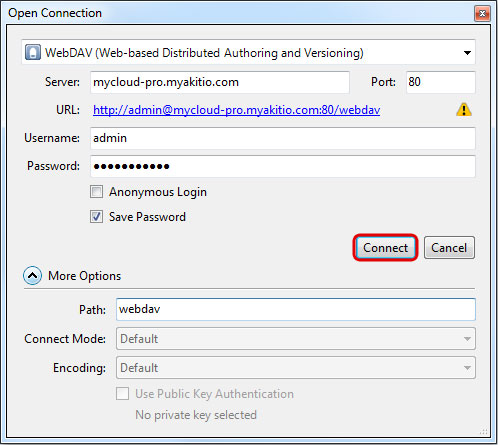
- You can now manage your files on the network drive through the WebDAV client.