Table of Contents
Samba on a PC
Samba is the recommended method to upload and manage a large amount of files, including directories and sub-folders or very large files. Once the network drive is mounted, you can manage the files just like you would do with any other drive on the computer.
Setup Samba Service
- Login to your network drive as administrator.
- Go to Preferences > Samba.
- Make sure the Samba service is up and running.
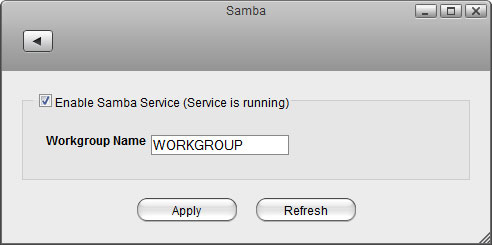
- For the workgroup name, make sure the network drive belongs to the same workgroup as your computer. In most cases, you can set this to WORKGROUP.
Network Neighborhood
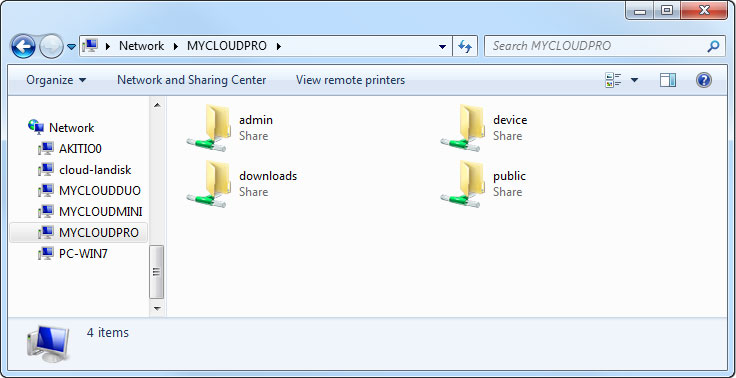
If your computer and the network drive both belong to the same workgroup, a shortcut to the network drive appears automatically. To access it, simply double-click on the shortcut.
- On your computer, open the file explorer and go to Network.
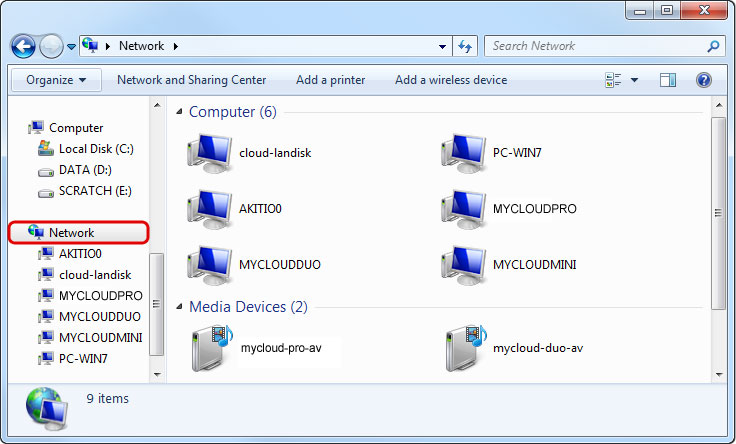
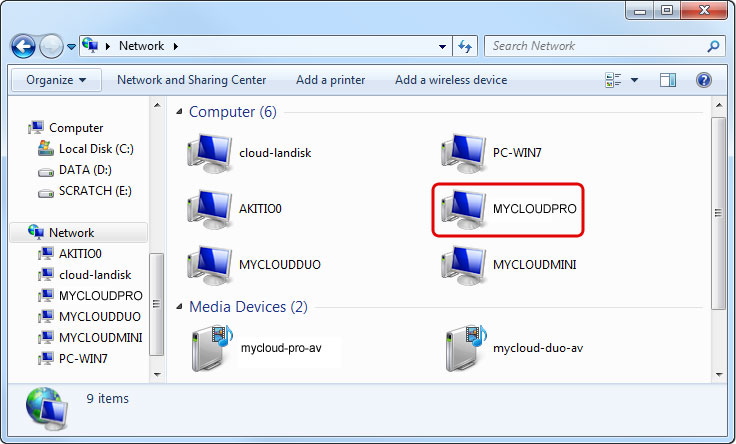
- Select and double-click on the shortcut for your network drive.
- When prompted for the login credentials, enter the username and password of your user account on the network drive and click OK. As an example, the administrator would enter admin for both username and password.

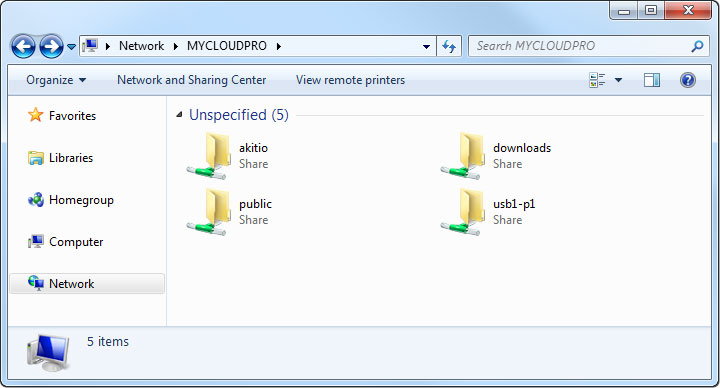
- You can now access your files on the network drive.
File Explorer
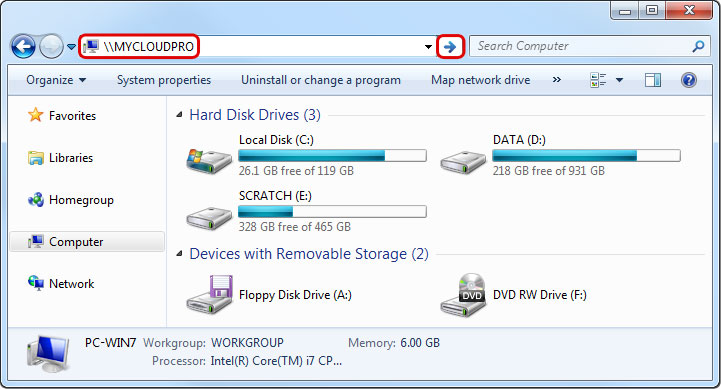
If you cannot find the network drive in your network neighborhood, you can access it by entering the path to the drive into the address field.
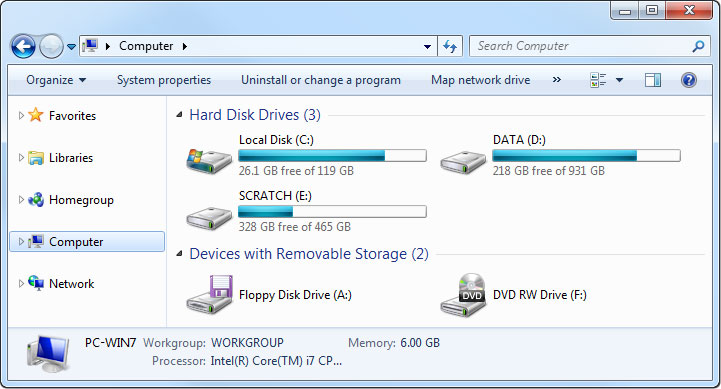
- On your computer, open the file explorer.
- Enter two backslashes followed by either the host name (e.g. \\MYCLOUDPRO) or the IP address (e.g. \\192.168.1.30) of your network drive into the address field and then click Enter on your keyboard or click on the Go to arrow in the file explorer.
- When prompted for the login credentials, enter the username and password of your user account on the network drive and click OK. As an example, the administrator would enter admin for both username and password.
- You can now access your files on the network drive.
Map Network Drive
To create a permanent link to your network drive that stays even after a system reboot, map the network drive to your system and enable the “reconnect at logon” option.
- On your computer, open the file explorer.
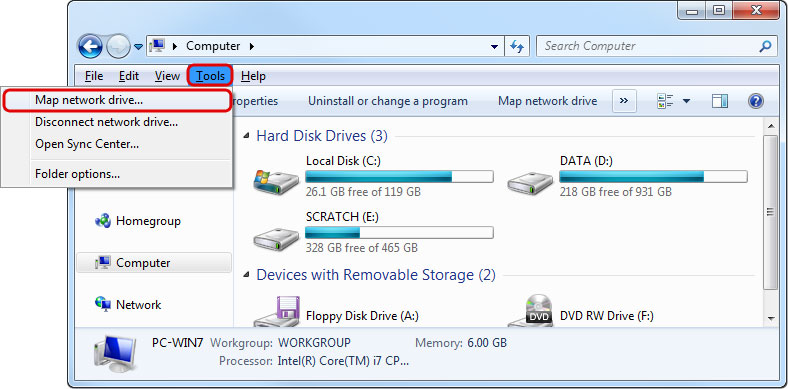
- Select Map network drive.
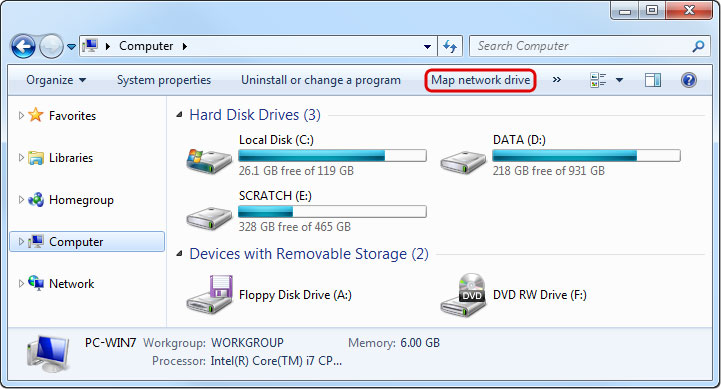
- If you don't see the shortcut, go to Tools in the menu bar and there you can select Map network drive….
- Enter two backslashes followed by either the host name (e.g. \\MYCLOUDPRO) or the IP address (e.g. \\192.168.1.30) plus a folder (e.g. \\MYCLOUDPRO\public).
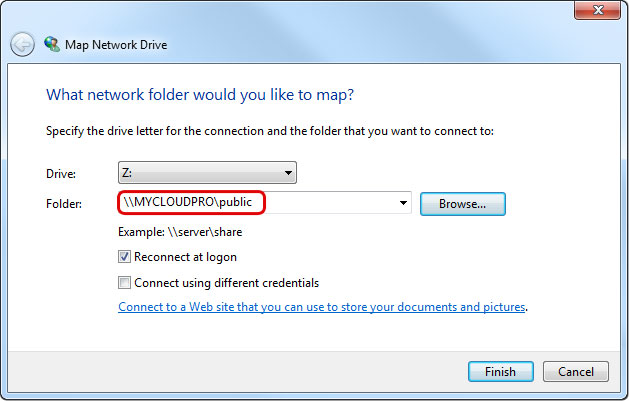
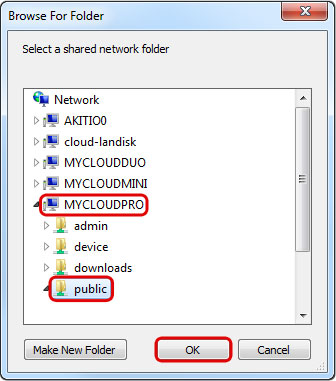
- If you are not sure of the exact path, click Browse and select the network drive from the list of available devices.
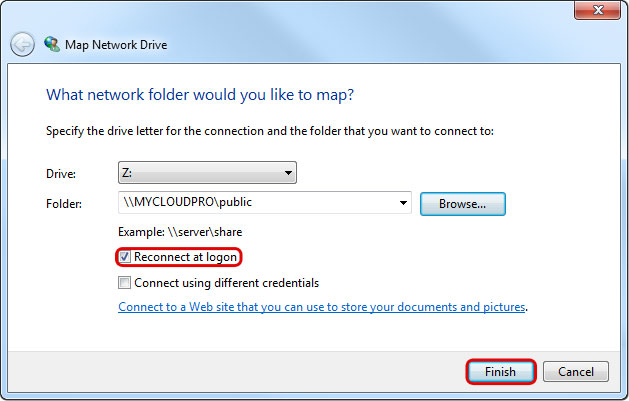
- To create a permanent link that also stays after a system reboot, select Reconnect at logon and then click Finish to complete the setup wizard.
- When prompted for the login credentials, enter the username and password of your user account on the network drive and click OK. As an example, the administrator would enter admin for both username and password.
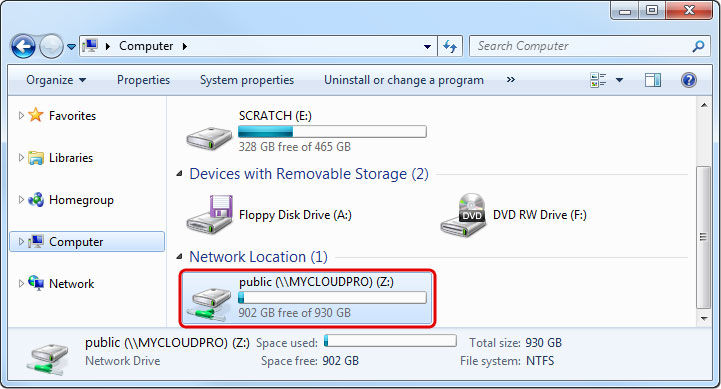
- You now have a permanent link on your computer and can access the files just like you would do with any other drive.
Disconnect Network Drive
When mapping a network drive on Windows, you cannot login with different accounts simultaneously, unless you use a different path (e.g. host name for one and IP address for the other). This behavior is by design as one server (uniquely identified by the given name) can only have one user authenticated to it at any given time. If you are already logged in as one user (e.g. admin) and would like to map the network drive as a different user (e.g. a regular user account), please disconnect the network drive first, before you attempt to login as the new user.
Unless you have mapped the network drive using the “reconnect at logon” option, you can either log off from Windows or restart Windows and it will automatically remove the mapped network drive. After login, you can then connect with your new user credentials. If you prefer not to log off or restart the system, please refer to the following instructions.
Disconnecting mapped network drives
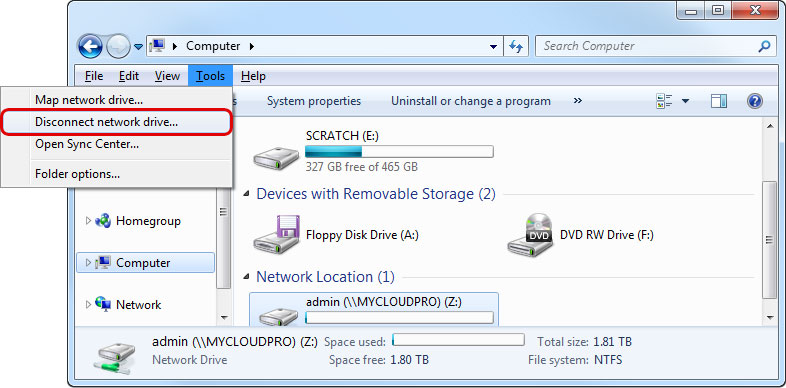
- Go to the menu bar and select Tools > Disconnect network drive….
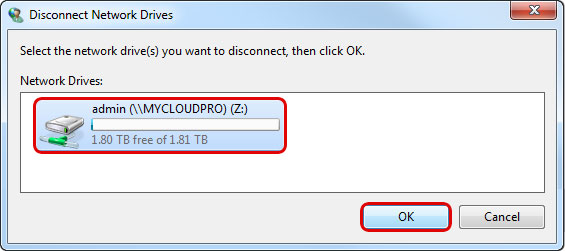
- Disconnect any of the currently connected folders on this network drive.
Reconnecting a mapped network drive
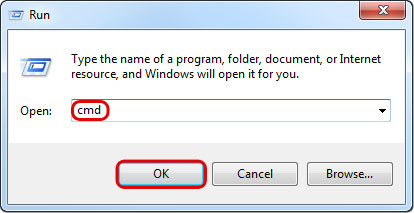
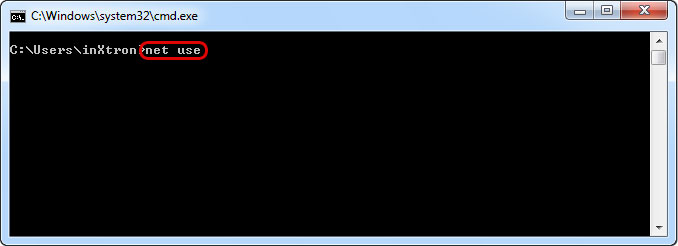
- Go to Start > Run… and type cmd to open the command prompt.
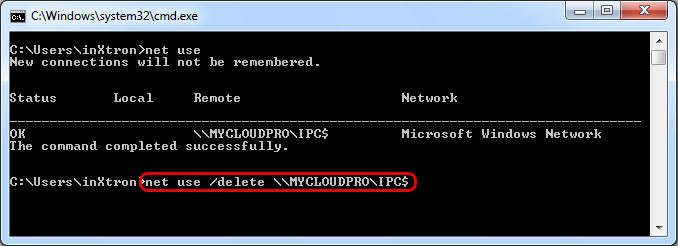
- Type net use to display the currently connected drives.
- If you find that your network drive still appears in that list, type net use /delete \\server\sharename to disconnect the drive. In this example the correct command is net use /delete \\MYCLOUDPRO\IPC$.
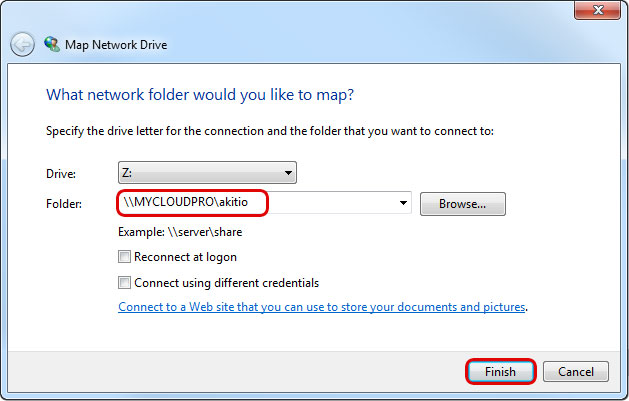
- Select Map network drive.
- Enter the new path to the folder that you would like to map and click Finish.
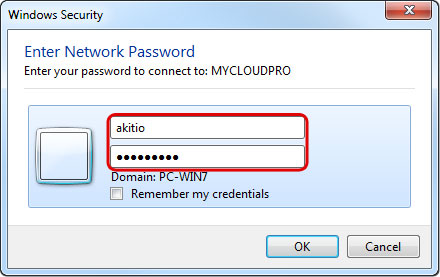
- When prompted for the login credentials, enter the username and password of your new user account and click OK.
Disconnecting non-mapped network drives
- Go to Start > Run and type cmd to open the command prompt.
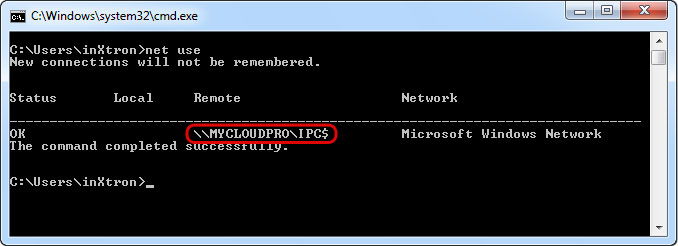
- Type net use to display the currently connected drives.
- Check if your drive is on the list.
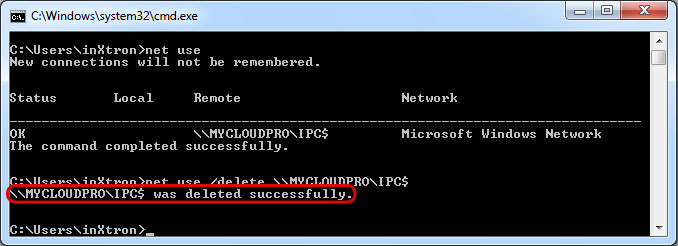
- Type net use /delete \\server\sharename to disconnect the drive. In this example the correct command is net use /delete \\MYCLOUDPRO\IPC$.
- You will get a message saying that the drive was deleted successfully.
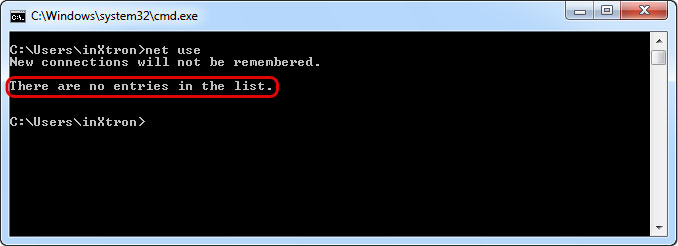
- If you use net use again at this point, your drive should not be on the list anymore.
Reconnecting non-mapped network drives
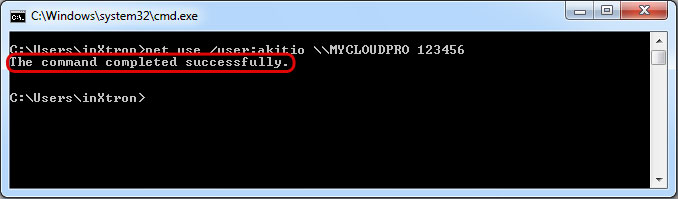
- Still using the command prompt, type net use /user:username \\server\sharename password to create a new connection. In this example, the correct command is net use /user:akitio \\MYCLOUDPRO 123456. You could also connect to a share like this net use /user:akitio \\MYCLOUDPRO\akitio 123456
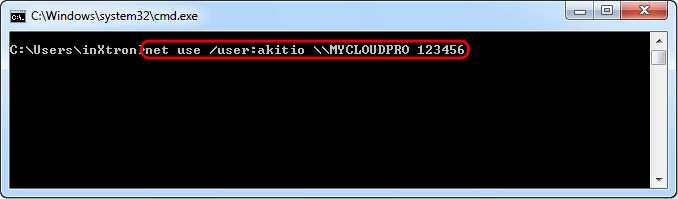
- You will get a message saying that the command completed successfully.
- Open the file explorer and access the network drive in your network neighborhood.
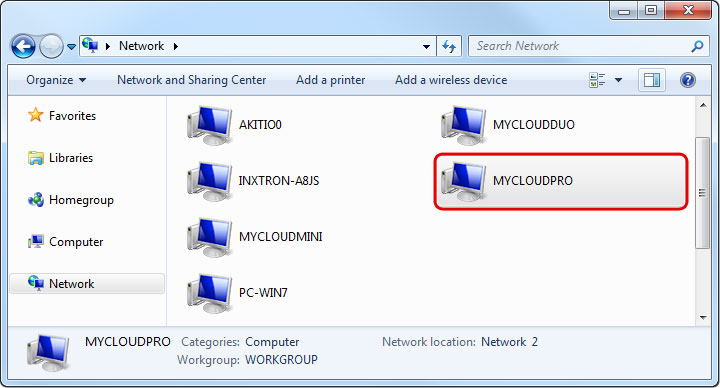
- You can now access the drive as the new user, which you have defined in the previous step, without having to enter anymore login credentials.